
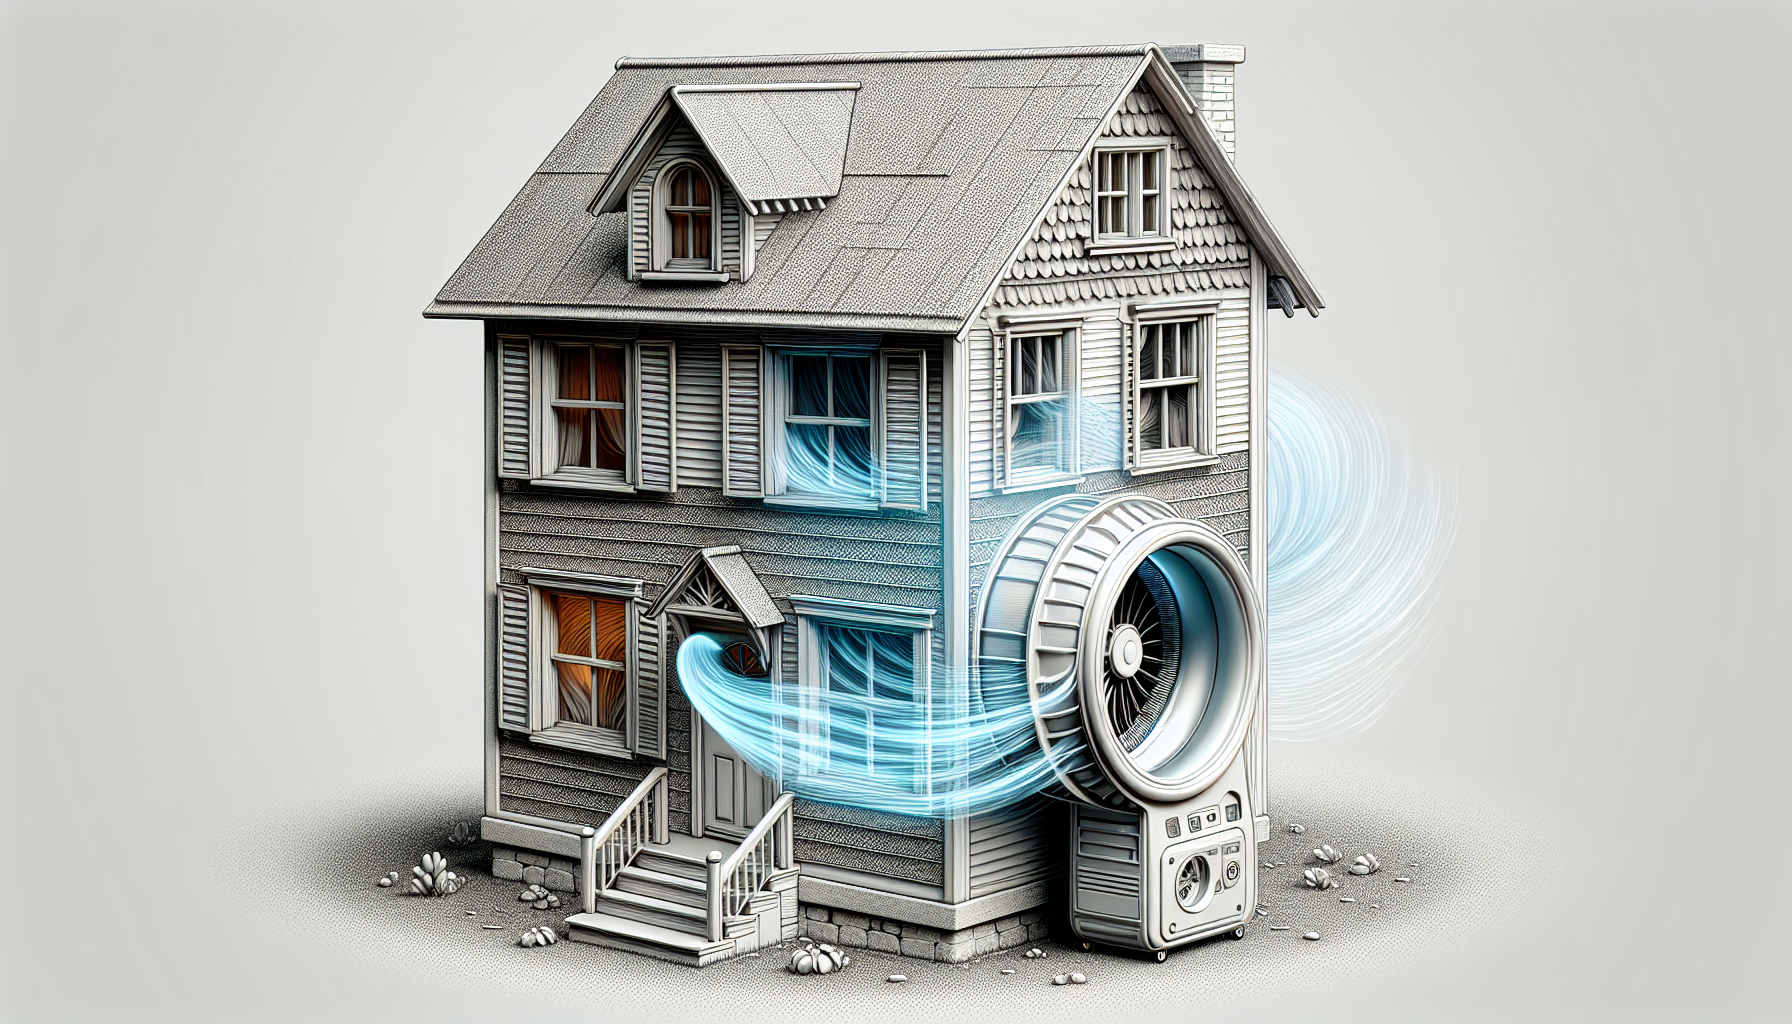
A blowerdoortest measures your home’s seal by identifying air leaks. Knowing where air escapes helps reduce energy bills and improves home comfort. This guide explains the blowerdoortest process, what to expect, and its benefits.
Key Takeaways
- A blower door test measures a building’s air tightness, identifies air leaks, and is instrumental in enhancing energy efficiency, indoor air quality, and overall home comfort.
- Blower door tests involve using a calibrated fan to create pressure differences within a building, making it easier to locate and measure air leaks; typically conducted by HVAC professionals or as a DIY project.
- Performing a blower door test, whether professionally or DIY, can lead to significant energy savings, improved indoor air quality, and enhanced home comfort by identifying and sealing air leaks.
The Ultimate Guide to Blowerdoortest: Costs, Benefits, and How-Tos
A blower door test:
- Identifies areas of air leakage within a building’s envelope
- Provides an accurate measure of the structure’s overall airtightness
- Is effective in assessing the volume of air entering or escaping a home
- Is used during different stages of the building process, retrofits, or energy audits to ensure that the home is properly sealed.
Blower door tests are commonly employed by a range of professionals including energy assessors, building researchers, weatherization crews, and home performance contractors to evaluate a home’s airtightness using blower doors. The procedure involves installing a calibrated fan into an adjustable door frame, which generates negative pressure within the building, effectively testing for air leaks. Typically, a qualified HVAC professional conducts the test, creating pressure differences to identify air leaks.
The main objective for homeowners is to locate air leaks, leading to energy cost savings, enhanced indoor air quality, and an increase in comfort and safety.
Introduction
Blower door tests serve as an essential tool for those seeking to boost their home’s energy efficiency and overall comfort. By measuring the air tightness of your home, these tests can pinpoint where air leaks are occurring, allowing for targeted repairs that can lead to significant energy savings and enhanced indoor air quality.
This guide provides a comprehensive walkthrough of the blower door test process, covering everything from understanding its components and the significance of air tightness to the advantages of performing such a test. You’ll learn:
- How to prepare for, set up, and conduct a blower door test
- How to interpret the results
- Common air leakage sources and solutions
- The difference between professional and DIY blower door tests
Ultimately, we’ll delve into the costs associated with the test, potential savings, and ways to apply the test results to enhance your home’s energy efficiency and comfort.
Understanding Blower Door Tests
Utilized as a robust diagnostic tool, a blower door test measures a building’s air tightness. Its principal aim is to pinpoint air leaks, which hold significant implications for energy efficiency, indoor air quality, and overall comfort. Blower door tests are typically conducted during different stages such as the end of the building process, retrofits, or as part of an energy audit.
The procedure entails pre-test preparation, fan set-up and calibration, creation of pressure differences, air leak detection, and a post-test review. The test results yield crucial metrics such as Effective Leakage Area (ELA) and airflow at a specified building pressure (Q50), instrumental in calculating the total leakage area and airflow rate throughout the building envelope.
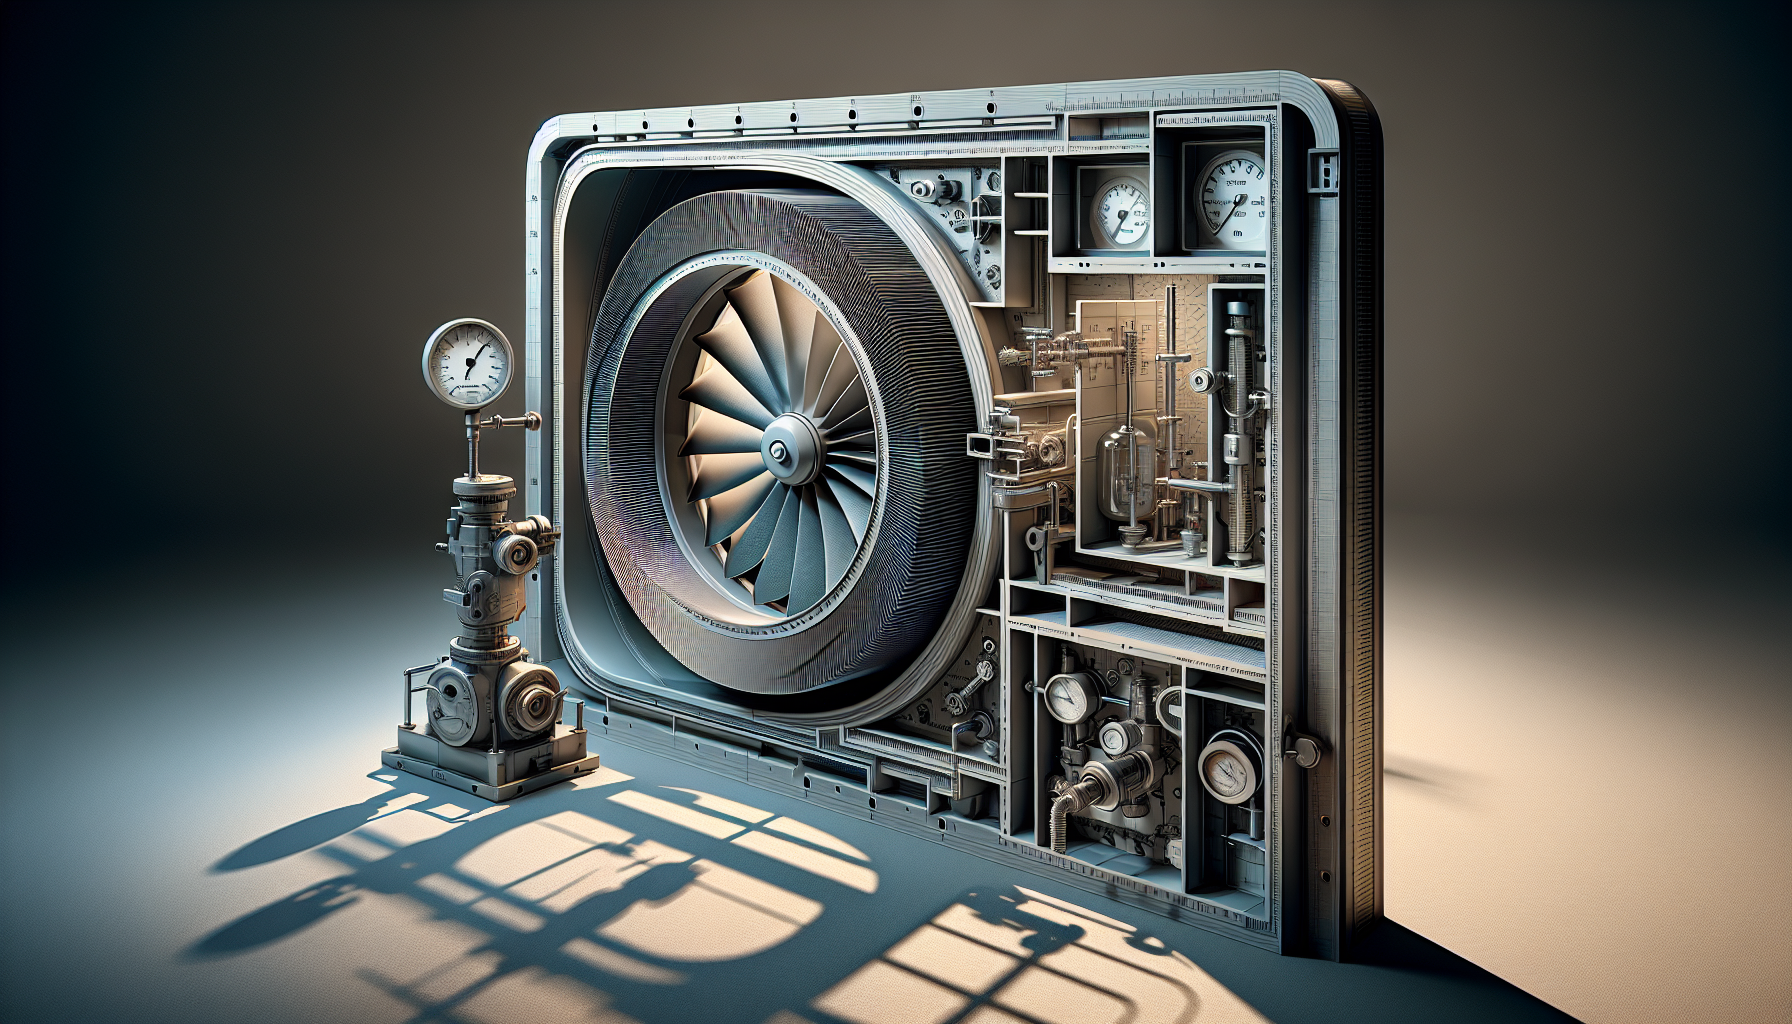
Components of a Blower Door System
A blower door system comprises several integral components that collectively measure a building’s air tightness. These include:
- A calibrated fan, also called a variable-speed fan, which is essential for creating the pressure differences needed to detect air leaks
- A door panel system
- A pressure measurement device known as a manometer
The manometer measures the air pressure differences created by the fan, quantifying the air leakage. The blower door fan is securely attached to the frame of one of the main exterior doors by a mounting panel. This ensures a secure and stable installation.
How the Test Creates Pressure Differences
The blower door test generates pressure differences by deploying a powerful fan to either pressurize or depressurize the building. By blowing air into or out of the building, the test creates a positive or negative pressure differential between the inside and outside. By drawing air out of the building envelope, the fan creates a pressure difference that allows higher outside air pressure to seep in through unsealed gaps and cracks.
These pressure differentials play a crucial role in identifying air leaks and evaluating the building’s overall airtightness.
Importance of Air Tightness
Maintaining air tightness is critical for preserving energy efficiency, indoor air quality, and overall home comfort. Blower door testing is beneficial for pinpointing problem areas in a building’s energy efficiency. It also helps to guide improvements for increased energy efficiency. Proper air sealing can significantly enhance the performance of heating and cooling equipment, reducing energy consumption and costs.
Additionally, air leaks can introduce pollutants like dust, mold, and radon into the home, impacting indoor air quality. Maintaining a low rate of air changes per hour is essential for ensuring a healthy living environment and optimal energy efficiency.
Benefits of Conducting a Blower Door Test

Carrying out a blower door test yields numerous benefits, including heightened energy efficiency, improved indoor air quality, and increased comfort and safety. Identifying and sealing air leaks enables homeowners to substantially decrease heating and cooling costs. The test also helps control drafts and prevent outdoor contaminants, pests, and odors from entering the home, thereby improving indoor air quality.
Furthermore, by sealing air leaks, a more stable indoor temperature is established, thereby enhancing overall home comfort. Lastly, a blower door test aids in preventing moisture condensation issues, thus reducing mold growth risks and enhancing home durability.
Enhancing Energy Efficiency
A blower door test contributes to improved energy efficiency by detecting interior air leaks, which once sealed, can lead to reduced energy consumption and costs, including heating and cooling bills. Sealing air leaks and adding insulation can save homeowners an average of 15% on heating and cooling costs. Proper air sealing and insulation can reduce overall energy costs by approximately 11%.
Given that most U.S. homes are under-insulated, tackling air leaks, including warm air leaking, can significantly enhance both energy efficiency and comfort. Even an excellent HVAC system will need to consume excess energy if installed in a leaky building.
Improving Indoor Air Quality
Air leaks can allow the entry of external elements like pollen, dust, and pests, which negatively affect indoor air quality. By sealing these leaks, homeowners can significantly improve the indoor air quality of their homes. The test may also reveal if mechanical ventilation is needed to maintain indoor air quality.
Ensuring proper ventilation helps to:
- Control drafts
- Prevent outdoor contaminants from entering the home
- Improve indoor air quality
- Enhance overall comfort
Occupants of the building may experience various signs of poor indoor air quality due to defects in the air barrier.
Increasing Comfort and Safety
Blower door tests are effective in detecting air leaks that result in uncomfortable drafts, and they aid in pinpointing significant hot and cold spots for corrective action. Sealing cracks and openings in the home reduces drafts, which can improve comfort and air quality. By minimizing drafts and cold spots, homeowners can enjoy a more stable indoor temperature, enhancing overall comfort.
Additionally, improved air tightness contributes to a safer living environment by preventing the entry of pollutants and allergens.
Preventing Moisture Problems
An unnoticed air leak could potentially turn into a moisture problem source, which might subsequently lead to mold growth. Properly sealing air leaks detected in blower door tests helps avoid moisture condensation problems, thereby preventing mold growth and increasing the durability of the home.
Moisture and mold issues can occur in uninsulated areas of the building, making it crucial to detect and fix air leaks. Regular blower door testing can help identify these issues early and provide solutions to maintain a healthy and durable home environment.
Step-by-Step Guide to Performing a Blower Door Test
Executing a blower door test involves multiple key stages, including preparation, blower door fan setup, test conduction, air leak detection and location, and ultimately, result review.
Proper preparation includes closing and locking all windows and exterior doors, opening all interior doors, and turning off heating, cooling, and ventilation fans. Safety measures must also be taken, such as turning off gas appliances and ensuring open-flame areas are extinguished.
Setting up the blower door fan involves mounting it into one of the exterior openings and following the manufacturer’s recommendations for fan orientation and manometer setup. Once the fan is running, you can use various techniques to identify air leaks, such as a smoke wand or infrared camera.
Finally, reviewing the test results helps determine the amount of air leakage and guides necessary improvements.
Preparation Before the Test
Before performing a blower door test, it’s vital to:
- Close all windows and doors and seal any evident cracks with caulking or weatherstripping.
- Close all exterior doors and windows.
- Do not adjust HVAC balancing dampers and registers.
- Turn off mechanical exhaust devices.
- Confirm that all open-flame areas are extinguished, and dampers are closed before starting the test.
Turn off gas appliances, including water heaters and commercial stove pilot lights, to prevent dangers like back drafting during the test. Ensuring safety by turning off combustion appliances and avoiding creating negative pressure with an active fireplace or woodstove during a blower door test is crucial.
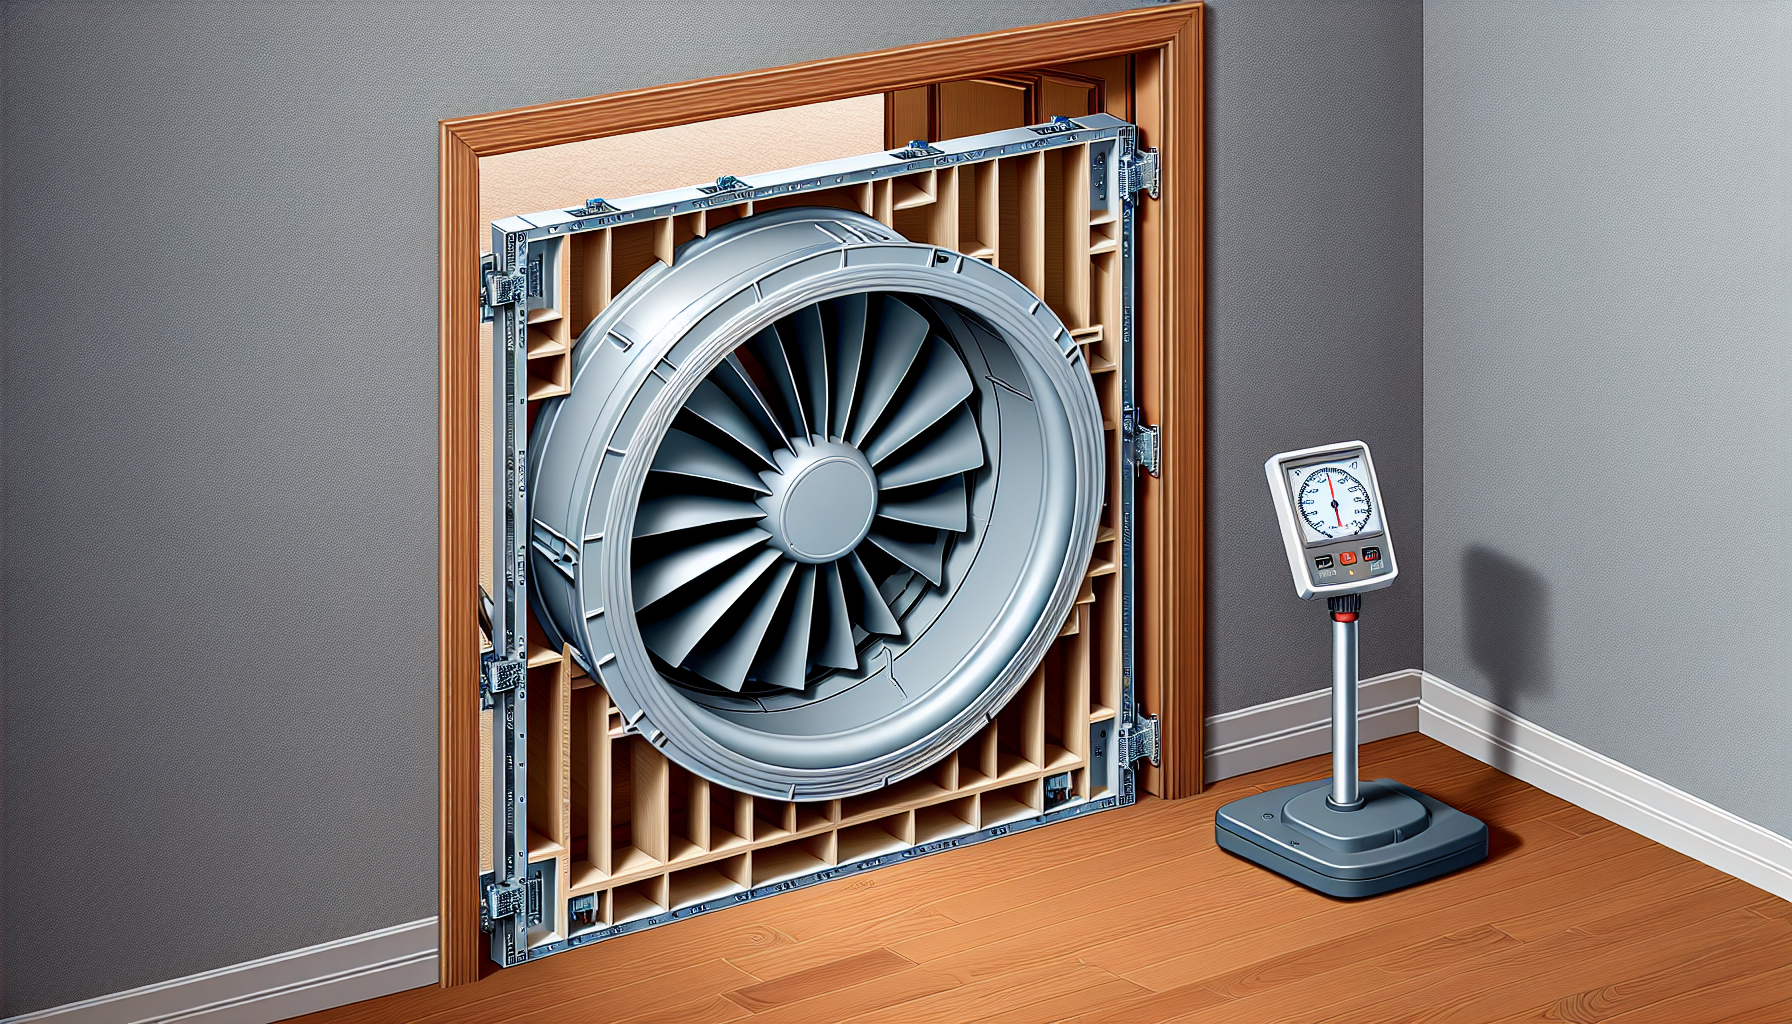
Setting Up the Blower Door Fan
As part of the setup process, the blower door fan is affixed to the frame of one of the main exterior doors using a mounting panel. This allows for accurate and controlled testing of the building’s air tightness. Follow the manufacturer’s recommendations for fan orientation and manometer setup to ensure accurate readings. Take the following steps to set up the blower door test:
- Attach the blower door fan to the frame of the main exterior door using a mounting panel.
- Follow the manufacturer’s recommendations for fan orientation and manometer setup.
- Take an outdoor pressure reading and input it into the manometer to reference the negative pressure created during the test.
Proper setup of the blower door fan is crucial for creating the necessary pressure differences to detect air leaks accurately.
Conducting the Test
The blower door test execution involves the following steps:
- Switch on the fan and utilize the manometer to determine the leakage amount, typically expressed as the number of air exchanges per hour.
- Inspect for leaks by walking around while the fan is running and noting any leaks that can be heard or felt.
- Re-perform the test at a higher pressure differential to reveal more leaks.
This process aids in identifying major air leaks and serves as a foundation for implementing necessary improvements to boost the home’s energy efficiency and airtightness.
Detecting and Locating Air Leaks
A blower door test can help identify and locate air leaks in the home, which are critical for improving overall energy efficiency. Technicians use various techniques to detect air leaks during a blower door test, such as a smoke wand, infrared camera, or handheld device like tissue paper. For a DIY approach, you can use smoke pencils or incense sticks to help identify smaller air leaks.
Invite friends over to help find and seal air leaks, and use a smoke stick to identify leaks you might not feel directly. Identifying and correcting areas showing air leaks is essential for improving the overall energy efficiency and comfort of your home.
Reviewing the Results
Reviewing the blower door test results is a vital step toward comprehending your home’s air leakage and overall airtightness. Pressure and airflow measurements taken during the test phase enable determining how much air leaks from the structure. This is typically expressed as the number of air changes per hour (ACH).
Key measurements like cubic feet of air flowing across the fan per minute at the test pressure of 50 pascals (CFM50) provide insights into the building’s airtightness. The test results can be used to identify areas for improvement, such as additional air sealing or insulation, to enhance energy efficiency and indoor air quality.
Common Air Leakage Sources and Solutions
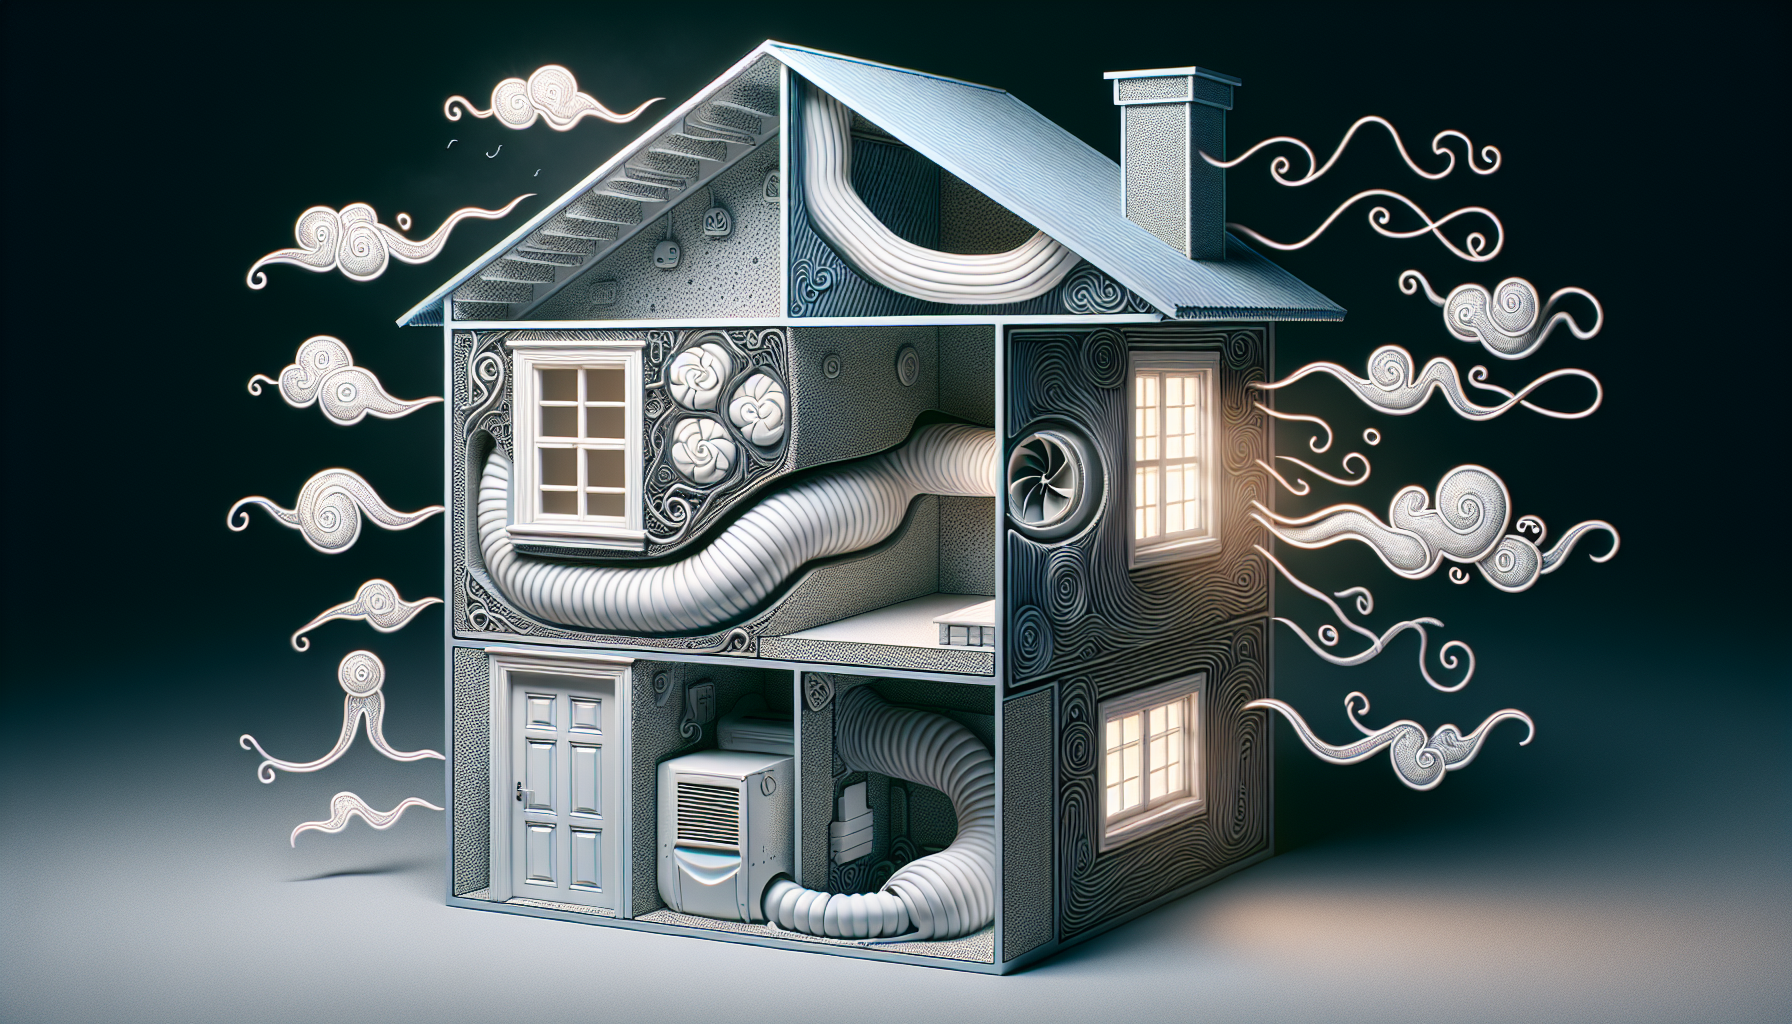
Effectively addressing air leakage issues and improving energy efficiency necessitates the identification of common air leakage sources in your home. Common sources of air leaks include:
- Exterior corners
- Outdoor water faucets
- Where siding and chimneys meet
- Areas where the foundation meets exterior brick or siding
Inside the house, air leaks can often be found around:
- Electrical and gas service entrances
- Baseboards
- Fireplace dampers
- Attic hatches
- Wall- or window-mounted air conditioners
Addressing these leaks through proper air sealing techniques can significantly reduce energy consumption and improve indoor comfort.
Windows and Doors
Windows and doors stand out as significant sources of air leakage in buildings. Inspecting windows and doors for air leaks involves checking if they rattle or if daylight is visible around frames, indicating potential leaks. Foam sealant should be applied around the inside edges of windows to prevent drafts. Sealing gaps around windows with weatherstripping or caulking can significantly reduce air leaks and improve energy efficiency.
Weatherstripping around doors can wear over time; ensuring a good seal helps prevent drafts. Sealing leaks around doors can typically be done using caulking or weatherstripping.
Ventilation Systems
To prevent air leaks in your home’s ventilation system, it’s crucial to ensure that vents and fans are properly sealed and installed. Here are some steps you can take to seal your ducts and prevent air leaks:
- Inspect your ductwork for any visible leaks or gaps.
- Use foil tape or mastic sealant to seal any leaks or gaps in the ductwork.
- Insulate your ducts to prevent heat loss and improve energy efficiency.
- Install air sealing measures around vents and fans to prevent air leaks. By following these steps, you can improve the energy efficiency and air quality of your home.
Exhaust piping for bathroom fans can let cold air in if dampers don’t close well. Leaks around kitchen hood exhaust piping can allow heat to escape, making it essential to address these leaks for better energy efficiency.
Recessed Lighting and Attic Hatches
Recessed lighting fixtures and attic hatches often represent significant sources of air leakage and thus necessitate proper sealing. Here are some steps to follow:
- Inspect attic hatches and recessed lighting fixtures for gaps.
- Ensure proper insulation to prevent air leaks.
- Use gaskets to seal can light trim kits, as they can significantly reduce leakage.
Sealing the edges of an attic hatch with weatherstripping can prevent leaks. Addressing air leaks in attic hatches by using weatherstripping or insulation can enhance sealing effectiveness.
Electrical Outlets and Plumbing
Common sites for air leaks such as electrical outlets, switch plates, and plumbing traps should be sealed using foam gaskets or caulking. Foam gaskets can be placed behind plastic outlet covers to prevent leaks around electrical outlets.
Testing can reveal issues such as inadequate air sealing of plumbing pipes and other conduit channels. Properly sealing these areas helps maintain the overall airtightness and energy efficiency of your home.
Professional vs. DIY Blower Door Tests
In terms of blower door tests, homeowners can choose between hiring a professional or conducting the test themselves (DIY). Professional blower door tests are typically more thorough and accurate due to the expertise and advanced equipment used by technicians. These tests often include thermal images to identify air leaks, provided there is a temperature differential.
While more cost-effective, DIY blower door tests may not deliver the precision of professional assessments. A DIY blower door setup can utilize an old furnace blower or a fan from an industrial surplus store to create the required pressure differential. While professional tests offer more accuracy and additional services, they tend to be more expensive than DIY options.
When to Hire a Professional
It’s recommended to hire a professional for larger or older homes that may have a high potential for significant air leakage. A qualified technician can:
- Identify subtle air leaks
- Provide comprehensive energy efficiency improvements
- Use a multipoint testing standard to provide detailed leakage rates at various pressures
For homes with complex air leakage issues or when detailed reporting is required, professional services are advisable. Consider hiring a professional initially to perform a comprehensive blower door test and provide a baseline for your DIY efforts. Explore how different blower door test companies approach testing and what to look for.
DIY Blower Door Test Tips
For those leaning towards a DIY approach, a homemade blower door can be assembled using rigid foam, painter’s tape, and a high-capacity fan. Using a variable speed fan, such as an ECM fan, can help adjust the pressure differential when performing a DIY blower door test. A Magnehelic gauge or digital manometer can be used to measure the pressure differential in a DIY blower door test.
To increase the pressure created by a DIY blower door, follow these steps:
- Close all interior doors.
- Run exhaust fans like bath fans or dryers.
- Use incense sticks or smoke pencils to help identify smaller air leaks during a DIY blower door test.
Cost of Blower Door Tests
The cost of blower door tests can significantly fluctuate based on a number of factors. The average cost for hiring a professional to conduct a blower door test for a standard single-family home ranges from $200 to $450. For larger or multi-unit homes, the cost can significantly exceed $800.
A full DIY blower door test kit includes:
- Frame
- Panel
- Fan
- Manometer
The cost of a complete kit can be over $3500. Understanding the costs involved can help homeowners make informed decisions about whether to hire a professional or attempt a DIY test.
Factors Influencing Cost
A variety of factors influence the cost of blower door tests, including the home’s size and complexity, as well as regional labor rates and demand. The size of your home significantly influences the cost, with larger homes requiring more resources and time for testing. The complexity of a home’s design, such as intricate architectural features or multiple heating zones, can increase the cost due to the additional time and effort required.
Regional labor rates and the demand for blower door testing services can cause cost variations based on location.
Potential Savings
Sealing a home based on blower door test results can lead to significant energy savings by reducing the energy consumed by heating and cooling equipment. Energy Star reports that effective air sealing strategies can lead to savings of up to 15% on heating and cooling costs. Addressing air leakage issues revealed by blower door tests can result in lower utility bills over time.
These potential savings make the investment in blower door testing worthwhile for many homeowners.
Utilizing Blower Door Test Results
Applying the results of a blower door test is vital in making targeted enhancements to your home’s energy efficiency. The data gathered during a blower door test can be utilized to derive a broad array of airtightness and building airflow metrics. These metrics are important for evaluating the overall performance of a building’s air barrier. The results, such as air changes per hour (ACH), are critical for identifying necessary air sealing and insulation improvements.
Using blower door test results can help in:
- pinpointing air leaks
- taking corrective measures to improve energy efficiency
- guiding decisions on HVAC equipment sizing
- improving overall home energy efficiency.
Air Sealing Strategies
Implementing effective air sealing strategies is crucial to maintaining indoor air quality and energy efficiency. Here are some key steps to consider:
- Ensure a continuous air control layer throughout the building.
- Perform a ‘red pen test’ on building drawings to identify potential air leaks.
- Extend air control layers through window and door openings to create a continuous barrier and reduce air ingress.
By following these steps, you can improve the air quality and energy efficiency of your building.
Sealing the connection between foundation and wall using tapes or liquid flashing can significantly reduce air leakage. For new construction, make repairs following the test and then re-perform the procedure to ensure all leaks are addressed.
Insulation Improvements
Enhanced insulation in areas where exterior wall assemblies meet pipes or ducts can help curb energy loss. Using closed-cell spray foam in critical areas, such as around plumbing and electrical penetrations, can greatly improve insulation effectiveness. Taping seams in wall sheathing before applying water-resistive barriers can enhance both air and moisture control.
Insufficient insulation of ceilings, floors, basement & attics areas, kitchen soffits, and stair flights can be identified through testing and addressed to improve overall energy efficiency.
Monitoring and Maintenance
Conducting blower door tests on a regular basis aids in the continuous identification and resolution of new air leaks, thereby maintaining energy efficiency. Periodic blower door tests can verify the effectiveness of previous air sealing and insulation efforts and identify new leakage points.
Regular re-evaluation and reapplication of air sealing materials, like tapes and caulks, help maintain a home’s airtight integrity over time. The test ensures that mechanical ventilation requirements are properly met to maintain acceptable indoor air quality.
Summary
Blower door tests are a vital tool for improving the energy efficiency, indoor air quality, and overall comfort of your home. By identifying and sealing air leaks, homeowners can significantly reduce energy consumption and costs, while also preventing moisture-related issues and improving indoor comfort. Whether you choose to hire a professional or conduct a DIY test, understanding the process and utilizing the results effectively can lead to substantial long-term benefits. Invest in blower door testing to make your home more energy-efficient and comfortable, and enjoy the peace of mind that comes with a well-sealed, energy-efficient home.
Frequently Asked Questions
What is a blower door test?
A blower door test measures a building’s air tightness by locating air leaks in the building envelope. This test helps identify areas that may need air sealing.
How does a blower door test improve energy efficiency?
A blower door test improves energy efficiency by identifying and sealing air leaks, reducing heating and cooling costs in your home. This can make your home more energy-efficient.
Can I perform a blower door test myself?
Yes, you can perform a DIY blower door test, but keep in mind that it may not be as precise as a professional assessment.
What are common sources of air leaks in a home?
Common sources of air leaks in a home include windows, doors, ventilation systems, recessed lighting, attic hatches, electrical outlets, and plumbing. Inspecting and sealing these areas can help improve energy efficiency and indoor comfort.
How much does a blower door test cost?
A blower door test for a standard single-family home typically costs between $200 and $450, but prices may be higher for larger homes.
Add a Comment